- Home
- SHOP
-
-
PRODUCT CATEGORY
-
- Akedo
- Ania
- Avatar
- Barbie
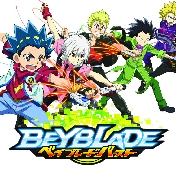
- Beyblade
- Big Hero 6
- Blast Fighter
- Boboiboy
- Boom City Racer
- Bottleman
- Bumbumz
- Cats vs Pickles
- Clementoni
- Cookeez Makery
- Dart Zone
- Disney
- DM3
- Dragon Ball
- Fail Fix
- Foam Alive
- Fortnite
- Goo Jit Zu
- Gundam
- Hatch & Hereos
- Initial-D
- Jelli Rez
- Jurassic World
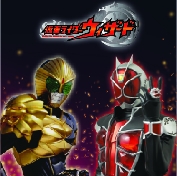
- Kamen Rider
- Kindi Kids
- Licca
- Little Live Pets
- Magic Mixies
- Magnetic Board
- Metacolle
- Minions
- Moncolle
- Moose
- OH MY GIF
- Pacman
-
TOP BRANDS
- Bandai
- Takara Tomy
- Moose
- Rubies
- Others
- McFarlane Toys
- Dart Zone
- Clementoni
-
-
- PROMOTION
-
-
Special Deals
-
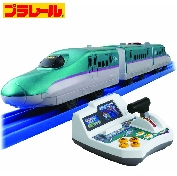
- Takara Tomy Tomica Star Wars SC-03 .. - RM28.00
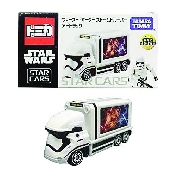
- TOMICA STAR WARS TSW Series - TIE F.. - RM9.50
- Original Barney 12-Inch Rolling Bac.. - RM25.00
- Disney Doorables S1 Multi Peek (Bli.. - RM30.00
- TOMICA STAR WARS TSW Series - Y Win.. - RM9.50
- Takara Tomy Tomica Star Wars SC-05 .. - RM28.00
-
-
- CHECK ORDER